Tuesday, April 16, 2019

Progress on the Walkman Project


Here's my current progress on my Walkman. I created a slider for the side of it, and my next goal is to finish that gray side and the rest of the box part.

Sunday, March 31, 2019

Baking the Normal Map and Fixing the Normal Map

Image result for "do not" sign

I couldn't get the mesh from the exported 3ds Max file to show in Substance Painter. When I tried to import it as a new file, it said it couldn't import the scene properly, so I think there's an error with my exported mesh.

Exporting the Model


I now know how to export the model. I had to export it twice, but the second time I named the mesh SM_LP_Mesh_Cage so that we know the difference between the high and low poly mesh.

Attahcing the Mesh Back Together


The whole mesh of the is uv mapped and attached ready to be pieced like a puzzle into a low poly robot.

Unwrapping the Scoop


The base scoop is unwrapped and finished, and now to begin the process of putting all the mesh together into the final piece.

UV Mapping the Support


I unwrapped the uvs for the support, and now I get to start creating and then eventually uv mapping the next object.

Refining the Scoop


The base scoop is now refined and ready for the uv editing and unwrapping. How I refined it was I beveled some of the polygons to have it match up with the guide object, and then I shaped it the way it should be shaped.

Creating the Scoop Base Shape


The base scoop for the robot is created, and now the refining process will begin. After the refining process, I will unwrap it and it will be finished.

Unwrapping the Connector


The uvs for the piston connector are unwrapped, which means the connector for the piston is finished. Each step is getting closer to the final low poly mesh of the robot.

Creating the Piston Connector


Each time I create a new object in 3ds Max, I start to like the program more and more, and it gets easier and faster to create objects and unwrap them. Anyways, the piston connecter is finished being modeled in low ply form, and now I will unwrap it.

Mapping the Piston


The piston for the arm is now unwrapped, so now the piston is complete. I will be creating and mapping the connector for the piston next.

Building the Piston


After I unwrapped the uvs for the arm support, I created a piston for the arm. I used the chamfer tool to give it  more detailed look. I will now map and unwrap the piston and move onto the next object.

Unwrapping the Support Arm


I went into the modifier list to select the unwrap uvw editor to unwrap the uvs, and now the detailed low poly support arm is unwrapped and finished.

Detailing the End of the Arm


The detailing if the end of the arm support is finished, and it turned pretty alright from watching the instructor and taking what I learned from the previous videos and using it as guidance.

Creating the Support Arm


The lower version of the low poly of the support arm for the robot is finished, and now to move onto the detailing and then UV mapping of it.

Thursday, March 28, 2019

Creating the Piston Support


I created the low-poly piston support for the robot. I will now start on the UV mapping for it.

Saturday, March 23, 2019

Blending Grid-Based Materials


I like that we can blend material in a grid because it makes making the scene a whole lot quicker, and it makes objects not look out of place.

Placing Detailed Elements in the Scene


I placed the elements in the scene, or in other words I set dressed the scene.

Naming Conventions for Modular Elements


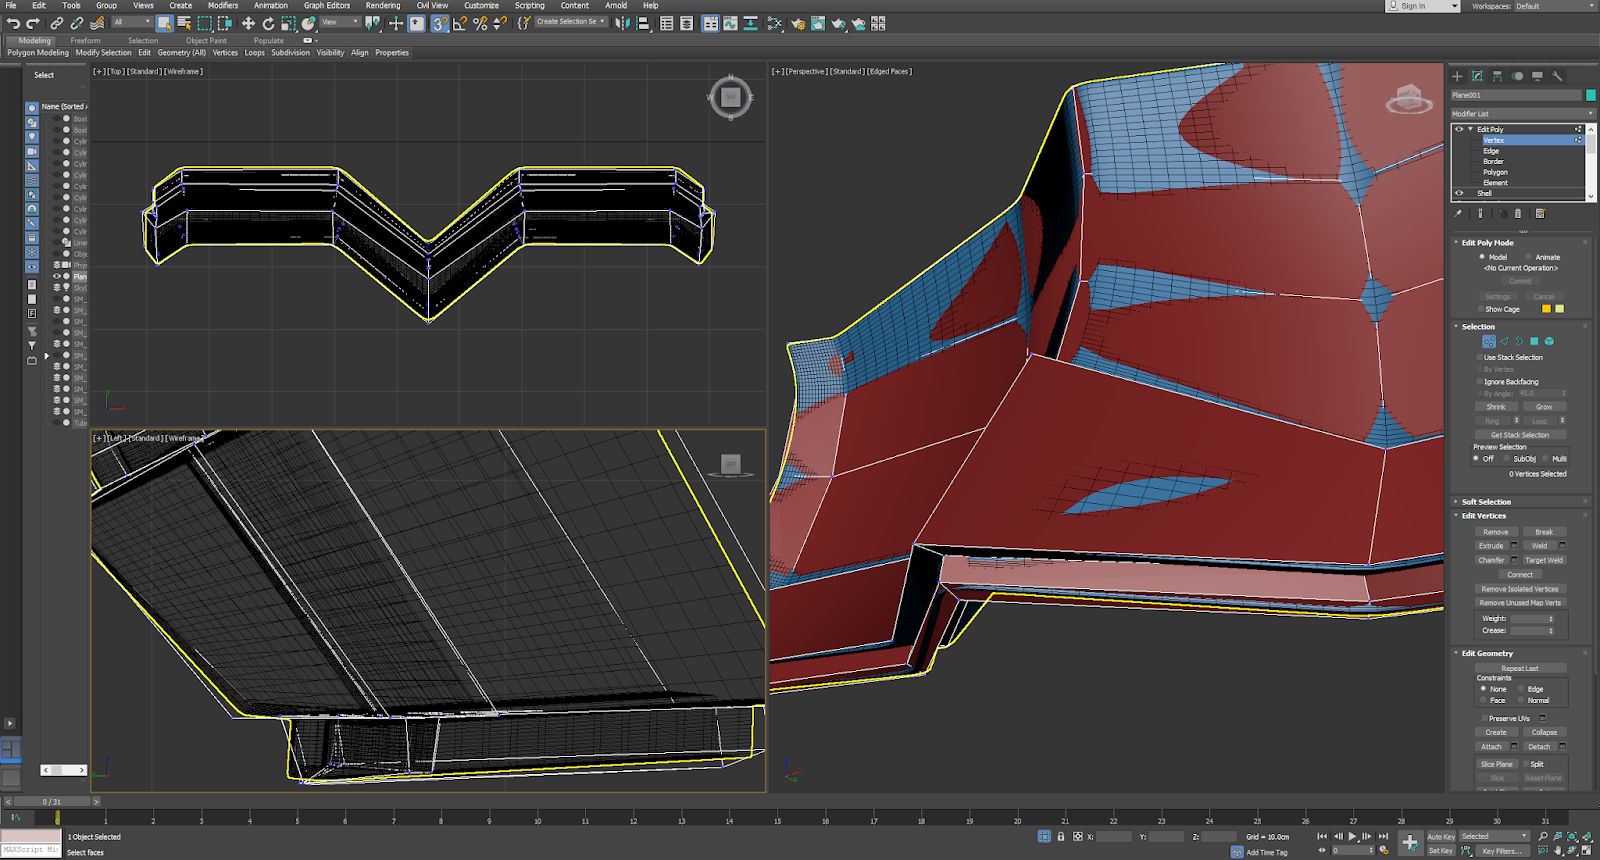
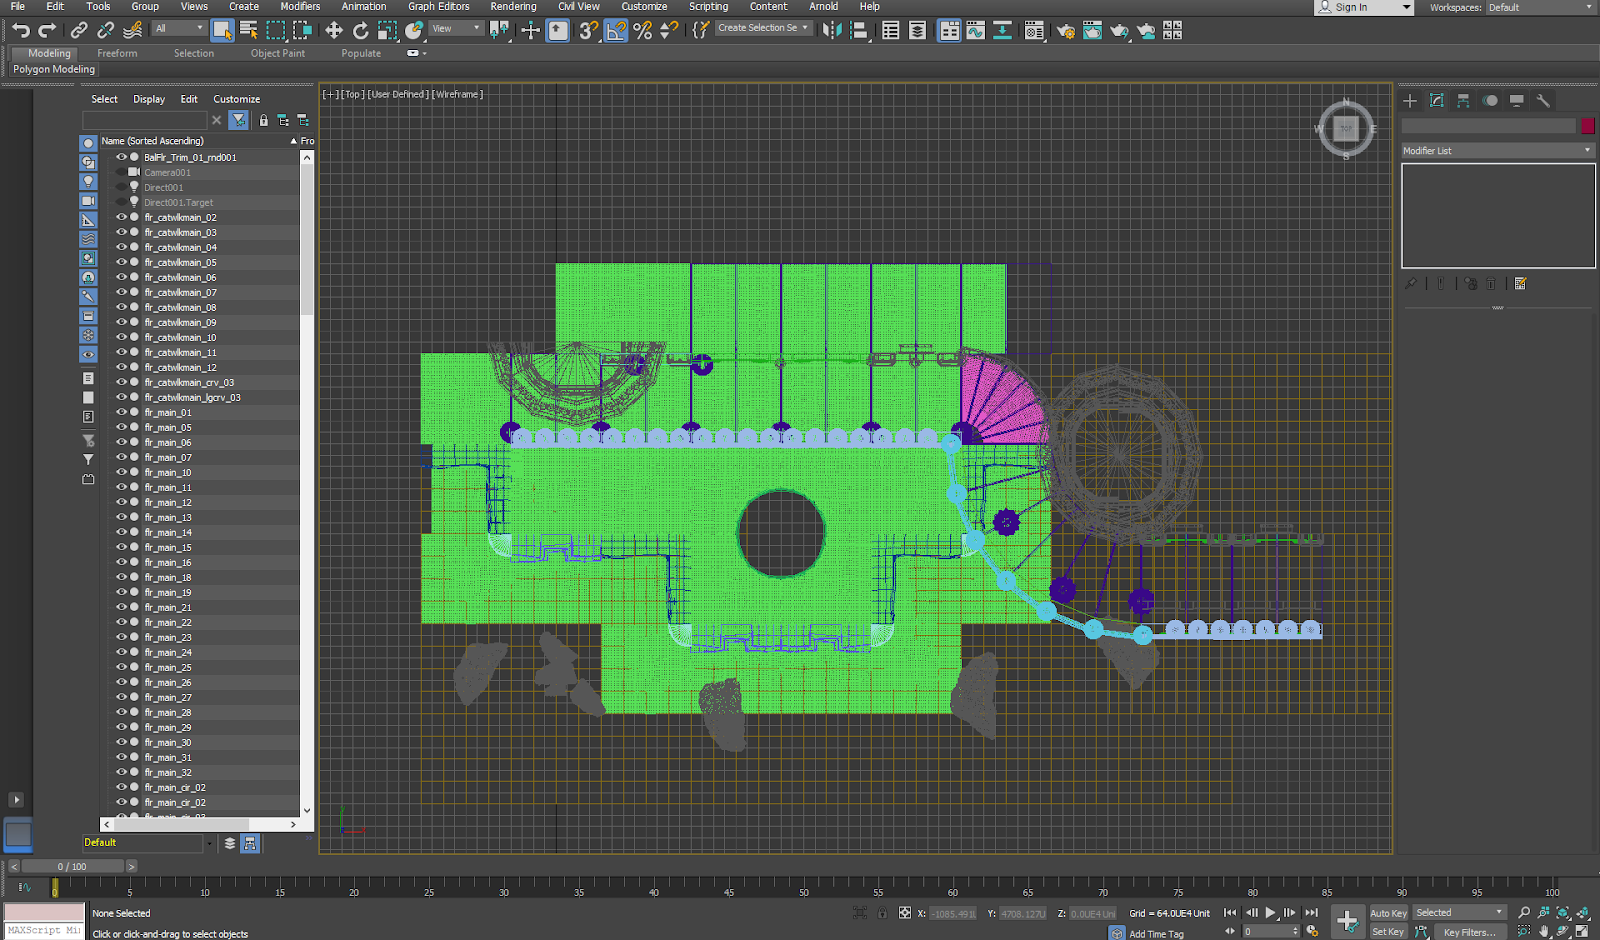
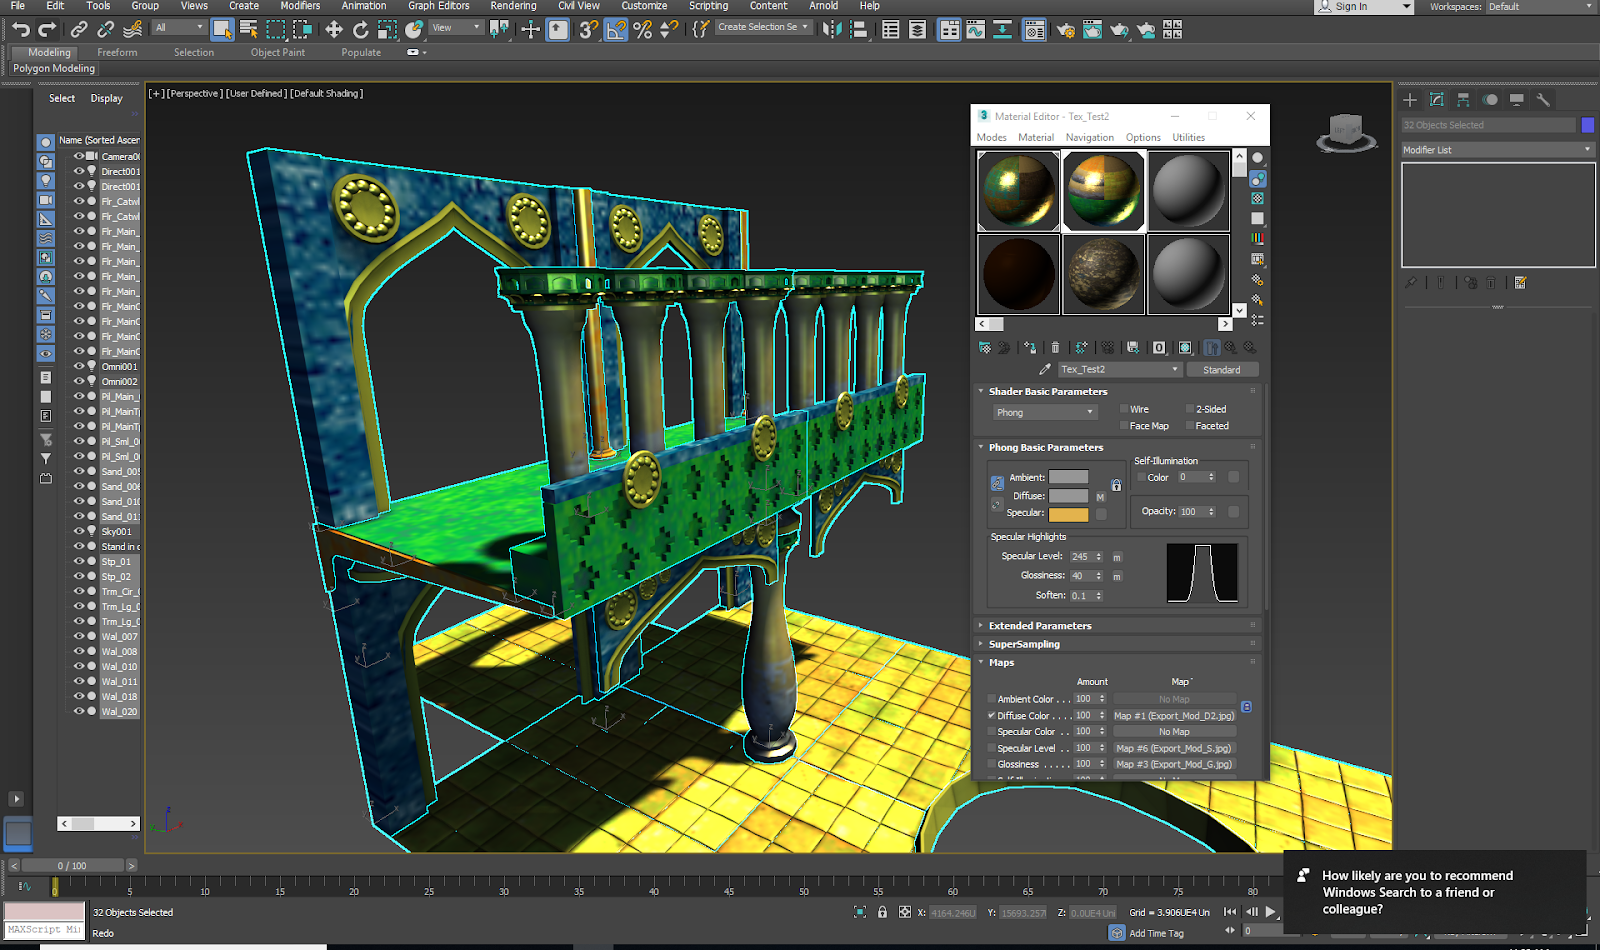
As described in the video, naming and numbering each of the assets is important so that when you need to change some things in an environment, you can find that specific object in the scene without having to dig for it for an hour or so. It's like naming all the layers in a project like in Photoshop, Illustrator, etc.

Modular Map Size and UV Placement


This is just a summarization of the videos about uv mapping modular meshes and texturing basics in 3ds Max for environments. In the next video, the finished touches will be made to the scene.

Changing Materials on Modular Meshes


Changing the material for the meshes is very similar to changing them on a regular object. As a matter of fact, it is a lot easier than changing the material for a regular object because it doesn't get confusing when you try to find the right material for the right object. It's all right there.

UV Mapping Modular Environmental Objects


The instructor talked more in depth about uv mapping the modular objects in an environment, and that you can use those for how you want people to see the textures on the objects.

Thursday, March 21, 2019

Determining Texel Density


Texel density is important because this is the basis of how your uv maps are being sized as the materials and textures in the scene. 

The UV Grid and Editor Settings


I fixed the grid tile for the floor unit, and I know now how to change the color of the grid in the uv editor. I also now know how to isolate a texture to only work on just that piece.