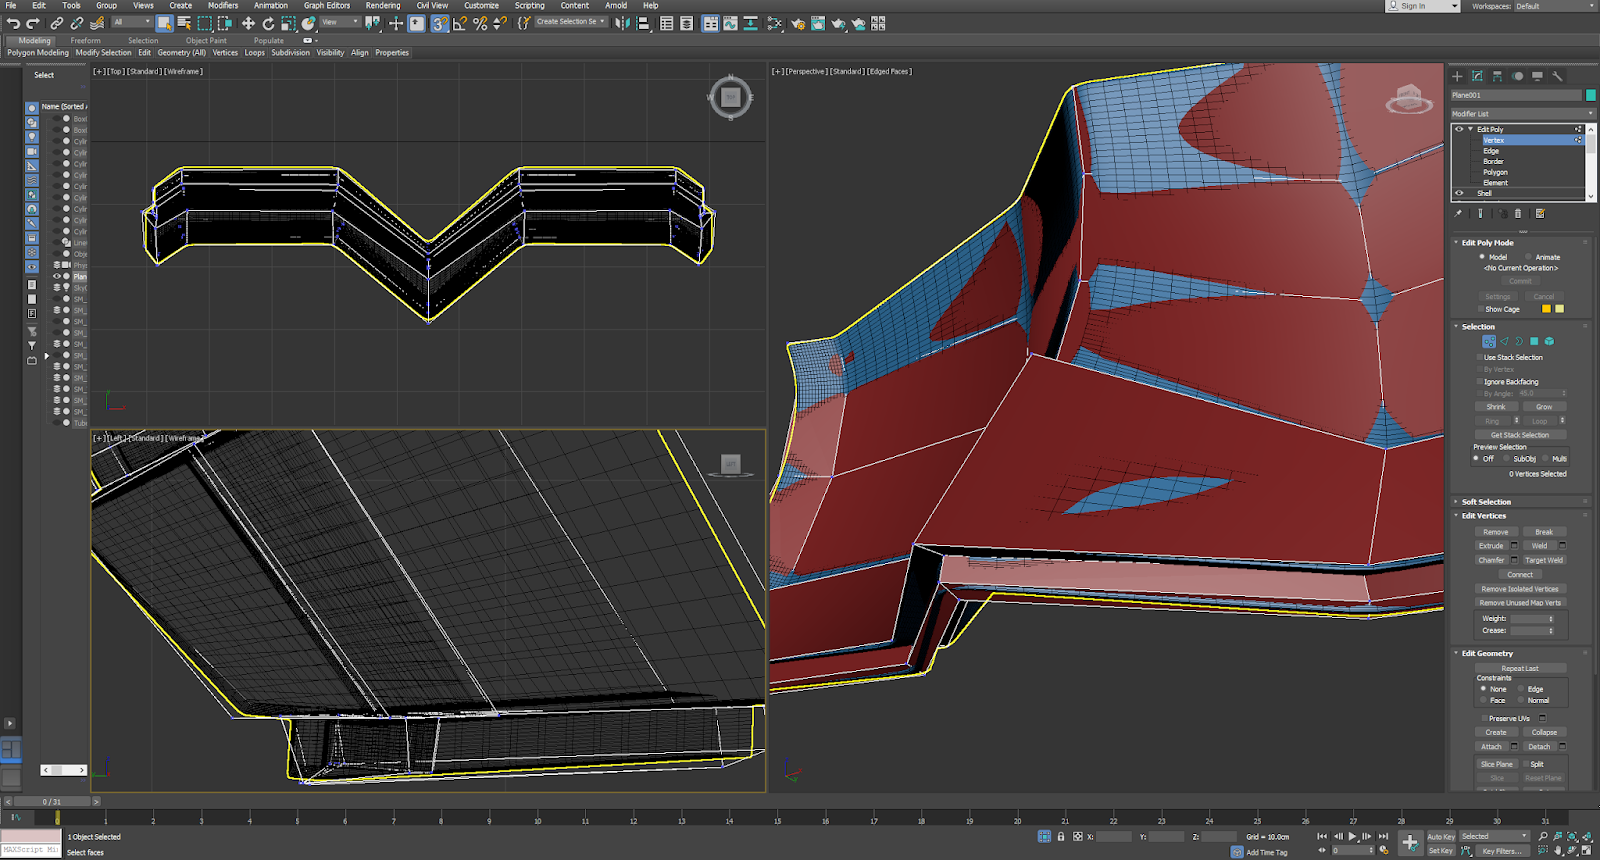
I couldn't get the mesh from the exported 3ds Max file to show in Substance Painter. When I tried to import it as a new file, it said it couldn't import the scene properly, so I think there's an error with my exported mesh.
I now know how to export the model. I had to export it twice, but the second time I named the mesh SM_LP_Mesh_Cage so that we know the difference between the high and low poly mesh.
The base scoop is now refined and ready for the uv editing and unwrapping. How I refined it was I beveled some of the polygons to have it match up with the guide object, and then I shaped it the way it should be shaped.
The base scoop for the robot is created, and now the refining process will begin. After the refining process, I will unwrap it and it will be finished.