So I did a quick animation to show that the rig works, and is functional and ready for use. I kinda had fun with this tutorial, but I had a few more struggles than I did with the last tutorial with the cartoon character with two legs. I'm excited to learn what is in store for me in the next tutorial.
Sunday, January 27, 2019
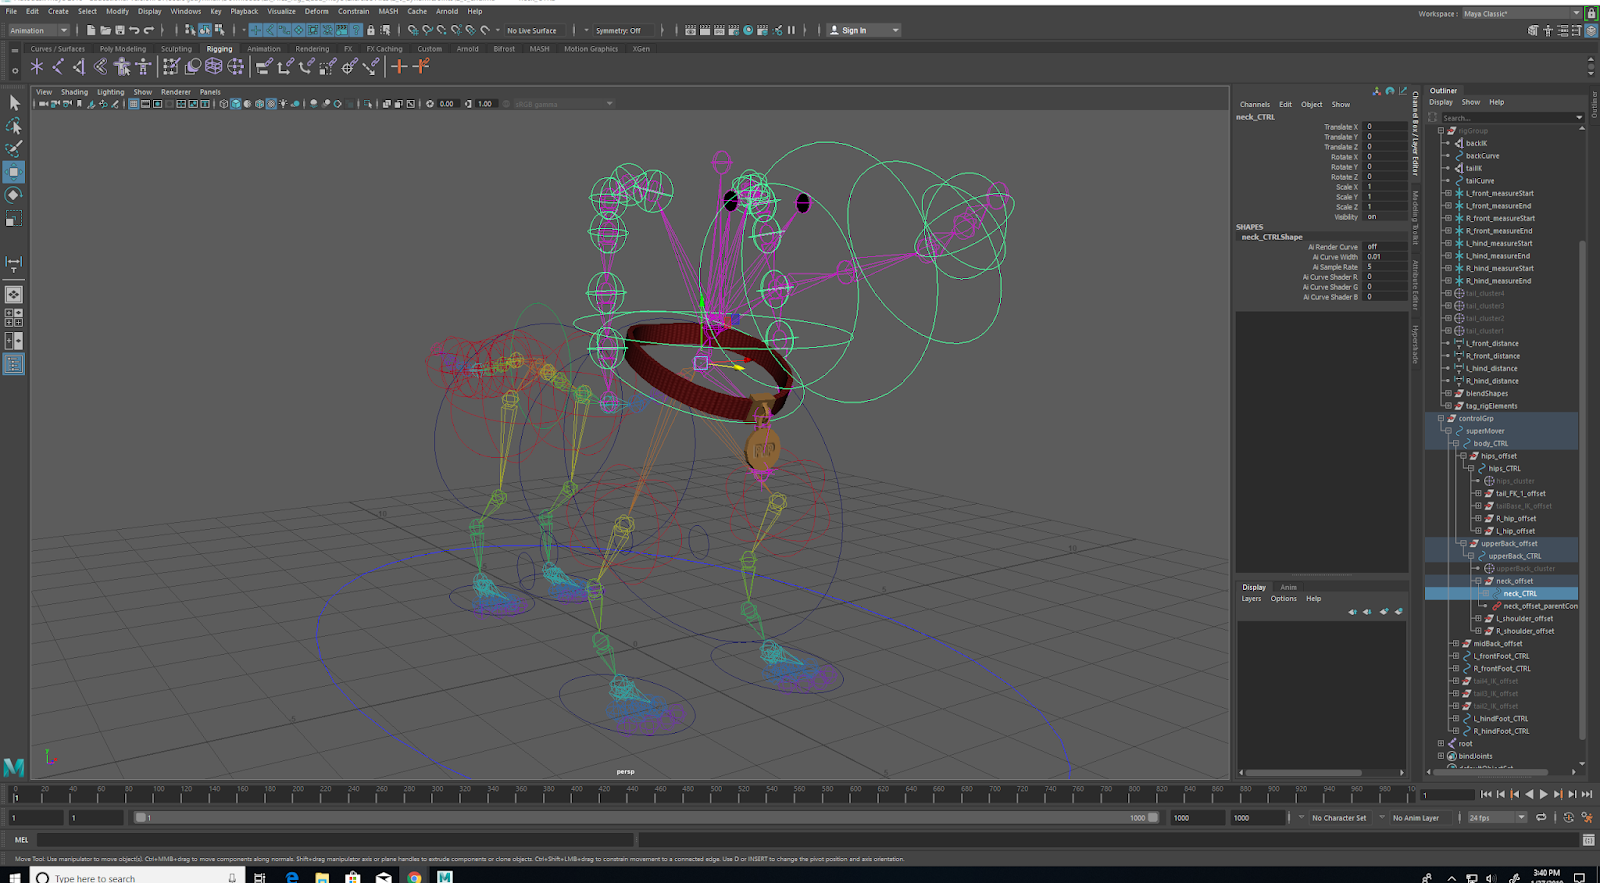
Testing and Finalizing the Rig
So I did a quick animation to show that the rig works, and is functional and ready for use. I kinda had fun with this tutorial, but I had a few more struggles than I did with the last tutorial with the cartoon character with two legs. I'm excited to learn what is in store for me in the next tutorial.
Refining Skin Weights

I have finalized the skin weights to the skin mesh, and now the rig responds to the character pretty well in my opinion. In the next video, I will be finalizing and testing out the rig.
Binding the Mesh to the Skeleton and Painting Skin Weights

The skin mesh is connected to the rig, or the skeleton, and moving it around looks a little deformed and broken for now. I had to use the skin weight paint tool because some parts of the skin would latch onto parts they aren't supposed to be latched on. I think in the next video is when I finalize the whole rig itself and see if it is functional to use.
Making the Rig Scalable

The rig is scaleable, but the right foot is having issues, and I tried to fix them but ended up making the rig screw even more. I think when I made another one of the multiply-divide attributes, I got a bit confused and messed up on connecting it with the right ones.
Controlling the Dog Tag with Dynamics
So I got the dog tag on the dog collar to work, but then it started to glitch out a little bit and decided to quit working. I will be sure to have this fixed before the next video so I can make this cartoon character be as dynamic as possible.
Creating the FK/IK Tail


So the IK and the FK was created for the tail, and now that the tail has both of those, I will now go straight into making the dynamics for it so it can move around. What I basically did for this tutorial was I created an FKVI expression to help manage the controls for the dynamics of the tail, which is what I am going to get into the next video.
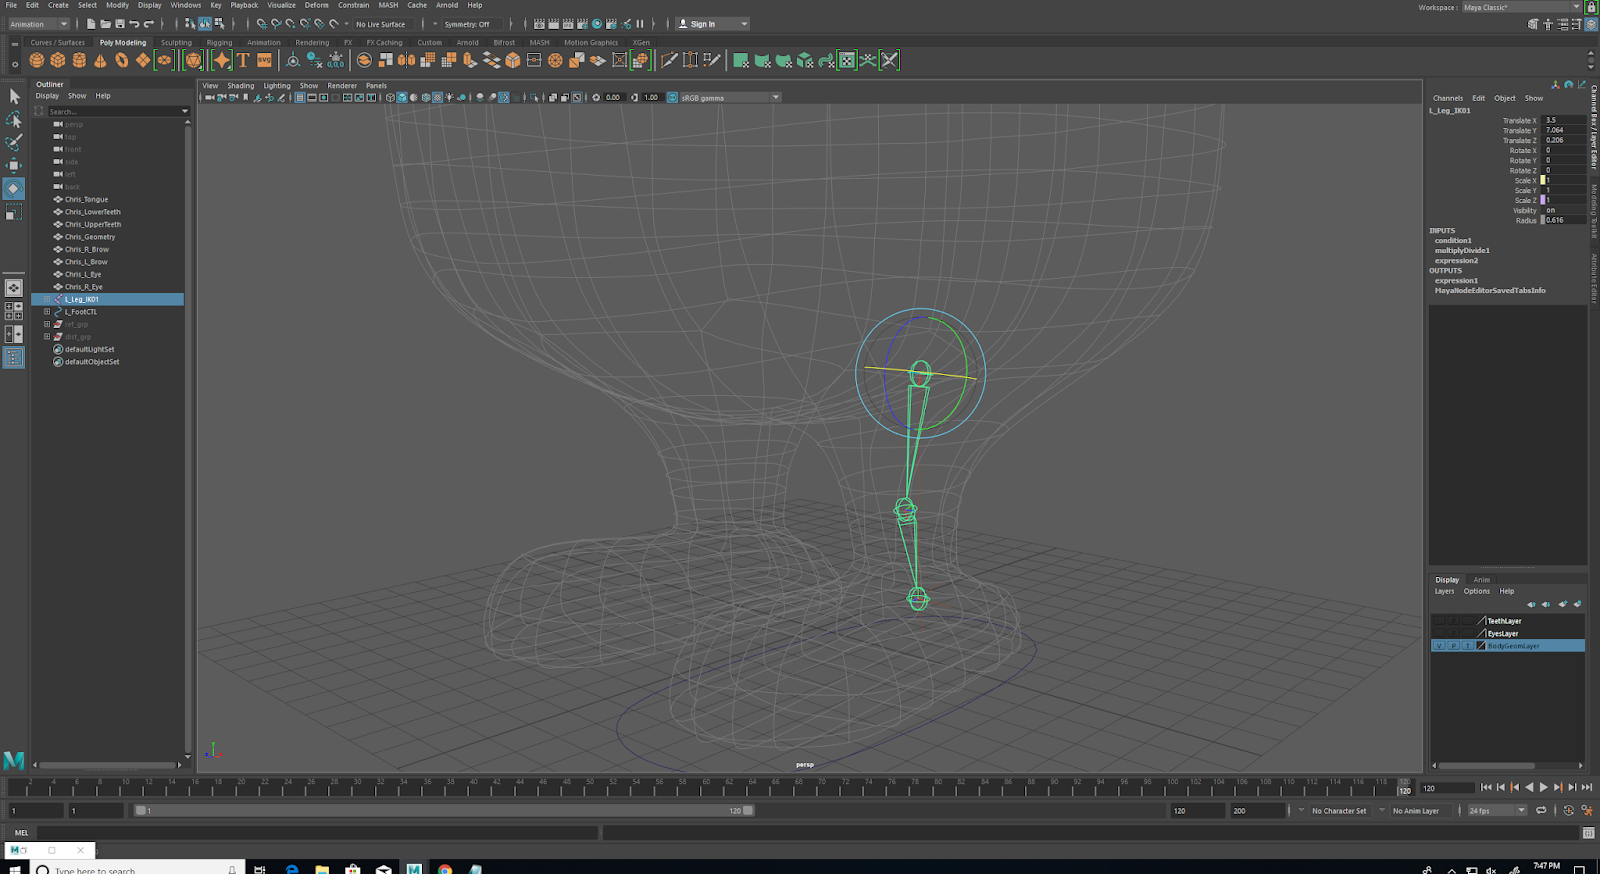
Switching Leg Stretch Off and On
Leg Stretch On
Leg Stretch Off
I recorded two videos to show that the stretch of the legs can switch on and off correctly. This tutorial video was little more technical and difficult than the last one because I learned about blend color nodes, and how it can control an attribute of the leg.
Rigging "Stretchy" Legs
Rigging a "Stretchy" Back

The back is stretchier than it was before, and apparently according to the instructor it is supposed to give the person animating the rig more freedom and expression. How I made it more stretchy was that I added a multiply/divide attribute to the back curve, which is the reason why there is a red glowing thing in the hyper shade window to show that it is working.
Adding Extended Twist Functionality to the Back
I got the back to where it now moves along with the front legs and back legs. I never noticed until this video that the back is the main guide to how the character moves. Like how a real dog moves, the back moves on the character almost as accurately as the real-life dog moves. All I did was connect the y components to where they rotate when the legs rotate.
Saturday, January 26, 2019
Working With Expressions


This video taught me a little about creating ad using expressions like in that one video when I had to create them for the two-legged character. I was only shown how to create the expressions for the toes, not the whole body, but I guess that's something I can learn how to do on my own time.
Rigging the Back
Making the backs rigs was a little difficult at first at first because some of the joint were having trouble connecting, and it made the back look very broken. The main problem was I didn't connect them to the correct joints, so I had to go back and figure out what the problem was and fix it, and now it moves smoothly across the spine (or back).
Adding Subfoot Pivots to the Back Feet
The process of adding sub-foot pivots to the back legs were similar to making the ones for the front legs. Since the IK handle has a little different orientation than the upper leg, I had to turn about half of what the IK handle in the front is.
Thursday, January 24, 2019
Adding Subfoot Pivots to the Front Feet
This video was difficult because the pivots were not moving the way they were supposed for a while, and then I eventually fixed it. I think the cause of that problem was that the connections were not correct, and I had to dig through to correct them o that it can move its leg like it's supposed to.
Rigging the Hind Legs
Rigging the hind legs of the character was similar to rigging the front legs of the character, except this time the legs in the back are more bent than the ones in the front. I added a flex attribute to the foot so that when the animator lifts the leg, it will lift like a real dog leg.
Tuesday, January 22, 2019
Rigging the Front Legs
So rigging the legs were a bit different fro rigging the ears because I had to make three different IK handles so that the leg can move like a real dog leg. I snapped the pivots into the wrong and had to start over on it, but then I go to work how the instructor is teaching us.
Rigging the Head, Neck, and Ears
Rigging the ear was a little harder than I thought, and a little confusing at the end. When I was making the controls so that the ears I guess can flap, I couldn't see the red circles so that I could move them because they were really small. I finally figured it out at the end, and now the dog has an ear that can flap.
Creating the Skeleton


I'm now starting the next tutorial on how to rig a quadruped character. The first step is pretty simple because all I had to do was mirror the joints on one side to the other side of the character. I get to start rigging the important parts in the next video.
Saturday, January 19, 2019
Animating a Simple Test
The animation isn't the best, but the rig is working like it should. I had some struggles and fun with this tutorial, and I can't wait to start the next one about rigging a four-legged cartoon character.
Cleaning Up the Rig

This is just a basic clean up of the rig that I created. The important parts in the Outliner are all either the skeleton, distance, reference, geometry, and the rig master controls groups, and now it's time to test out the rig.
Controlling the Teeth
The rigging and controlling of the teeth was quite as simple as the rigging for the eyes expect this time I used blend shape to get it to work with the jaw correctly. I did have a little difficulty trying to get the jaw to work properly with the teeth because it kept detaching itself from the teeth, but I eventually got it to work, and now the character can move it's mouth correctly.
Rigging the Eyes
Rigging the eyes are lot less complicated than rigging the entire character. All I did was connect them to a locator, which then I connect the eye control panel using a point constrain and an aim constrain.
Thursday, January 17, 2019
Wiring Complex Two-Way Controls
This is way more confusing than the last video because the guy who does the tutorials knows more programming and math than what I comprehend right now. I got the character to smile now, which adds more expression to the face.
Wiring Simple Two-Way Controls
The jaw controls were pretty easy to connect to the mouth and the jaw itself, and now I can move the jaw to where it looks like it can talk a little. I'm going to figure out how to make the mouth itself move like in the tutorial because the guy didn't show how he did the mouth.
Wiring Custom Sliders
The wiring for the OH and MM controls were a little difficult to get working properly with the face rig, but I figured out why I was having trouble. I set the keys to the wrong face shapes, which made the face look warped when I moved some of the sliders. That got fix fortunately, and now the character has a nice smile.
Tuesday, January 15, 2019
Controlling Eyelids
I had a little bit confusion with setting the keys to the right eyes, but I eventually go the eyes to function properly with the face control panel. The right eye can now be exaggerated to have a surprised expression, and now I know how to create better expressions when I animate in 3D.
Creating Controls for Facial Animations
Creating the controls to make cool face animations was very simple. I just had to take the nurbs for the face control and just attached the face rig, and then I locked the ones that are going to later on be the ones the manipulate the face.
Sunday, January 13, 2019
Adjusting Skin Weights


I messed around in the weight painting for the skin of the character, and it looks to me like it smooths out the character's animations on the different part of its body. You can even control each different vertice to your liking in the component editor which I think is very cool!
Skinning the Character
The skin is now attached to the character rig, and when it moves the kin moves along with the controls nicely. It even has a nice squash and stretch appeal to it, which turned out better than expected.
Creating Jaw Controls with Joints

I created some jaw controls for the character because obviously he needs to be able to move his mouth when we get ready to animate it. The more I learn about hoe to rig a character like this, the harder I know it is going to be when we begin to do a lot of rigs for short animations.
Manipulating Faces With Blend Shapes
I had a lot of fun with this video. I just took the different faced models into Blend Shapes, and now the character can make different facial expressions. I think it makes animating the face a lot easier and more fun in my opinion.
Finalizing the Arm
I finished the rigging for the arm, not the hand, and how I did that was I made another joint the connected to the spine, and then added a point constrain that connected to the arm to it so that it acts like a shoulder.
Adding Stretch

I added stretch to the hand part of the rig, and am now ready for the next part of the tutorial.
Wiring Up the FK/IK Rig
I did a little programming, kind of like the programming I did for the legs. I made it to where the joints moved along with the nurb control for the hand, and it was a little difficult but I finally got it to where it moved correctly.
Setting Up the Joints and Controllers
I took the nurbs for the fingers and connected the pivot points to the joints. They can now move like how your fingers would move, but now to do the next phase and then the final touches.
Basic FK/IK Switching Theory

This video reexplained the FK/IK theory that was also in the first part of the tutorial. It also was a refresher for finding the hot keys in Maya for tools like the rotate tool and the move tool.
Saturday, January 12, 2019
Adding Spine Stretch
I added a little bit of spine stretch for when it comes time for the animating of the character, it will be more expressive and lively than it would if it moved mechanically like a robot.
Adding Controllers to the Hip and Spine
I create the spine and hip controls for the middle of the character rig, and all I did was add point and orient constrains on the different center points so that the rig can rotate in different directions.
Drawing the Hip and Spine Joints
I created a spine for the character so that when it walks it wont just have legs. It will have a support so they can move like the way we move when we walk. So, rigging is just connecting and placing the joints correctly.
Finalizing Leg Chains
So I finalized the leg chains so that I see how exactly the leg will move because it will show me in the channel box that it is being translated either through the x,y, or z-axis.
Creating Stretch in the Node Editor

I didn't quite understand what I did in this video, but I learned about what nodes associate with when rigging a character. They control what happens in the leg when it stretches when you animate it, at least that is my opinion of what it does.
Thursday, January 10, 2019
Creating Stretch Using Expressions

So I did the 'programming" part of the rigging process so that I guess it can move around when the controls tell it to move around.
Measuring the Joint Chains
I still don't quite understand why we needed to measure the distance of each joint, but this turned out almost exactly how the guy in the tutorial described it. I was having trouble with the foot pivot though because it wouldn't snap to the bottom leg joint, but the reason why was that I forgot to drag the foot pivot to the bottom leg pivot after holding the "d" button.
Setting up the Leg Joints
Rigging is pretty different from what I'm used to doing, but I think I am starting to understand the basics of how to do it from just rigging the left leg of the cartoon character. It was a little difficult to get the IK handles to work for the foot to stay attached to the leg while it moved, but I finally got it to stay with the leg.
Subscribe to:
Comments (Atom)